At TechTide Solutions, we’ve learned that “weather app” is one of those deceptively simple product labels. On the surface, it’s a search box and a temperature. Under the hood, it’s a real-time data product that depends on external APIs, latency-sensitive UI updates, careful error handling, and responsible usage policies—plus the awkward reality that users blame you when the sky doesn’t behave.
Business-wise, weather is a universal dependency. Logistics teams use it to reduce delivery surprises, operations teams use it to plan staffing, event organizers use it to decide whether to pause or proceed, and product teams use it to build sticky daily habits. That demand shows up even in consumer app economics: in Statista’s market forecast, the Weather app category reaches US$2.36bn in 2025, which helps explain why so many teams want a “quick weather feature” in their portal, marketplace, or mobile experience.
How to create a weather app: define your niche, platform, and must-have features
From the engineering side, weather apps are also a clean way to practice the modern “API-first” craft. Gartner’s API management market share analysis notes total revenue of $3.3 billion in 2023, and we read that as a signal: organizations are betting on APIs, governance, and integration reliability as strategic infrastructure—not as an implementation detail.
In this guide, we’ll build a simple, practical weather app in the browser (HTML/CSS/JavaScript) and a Python version (CLI and optional Tkinter GUI). Along the way, we’ll keep our focus on what actually matters in production: clarity of scope, predictable UX states, secure key handling, and resilience when APIs fail in the real world.
1. Research competitors and define your target audience expectations
Before we write code, we decide what “weather” means for the person using the app. That sounds obvious until you realize how many different “truths” a weather app can display: city-level conditions versus neighborhood-level conditions, “feels like” versus measured temperature, radar versus forecasts, and alerts versus passive browsing.
Start by naming the job-to-be-done
In our discovery sessions, we avoid vague goals like “show weather” and instead write one sentence that begins with: “A user opens this app because…”. The answer changes everything:
- Commuters want fast, glanceable “right now” plus near-future rain timing.
- Outdoor workers want wind and precipitation visibility with fewer decorative elements.
- Travel planners want comparisons across multiple locations and reliable forecast summaries.
- Enterprise ops teams want alerts, auditability, and predictable uptime more than animations.
Competitor research: look for patterns, not pixels
We treat competitor research as a pattern hunt. Instead of copying UI, we look for repeated product decisions that signal user expectations:
- Language: do competitors describe weather in plain terms (“light rain”) or technical terms (“precip intensity”)?
- Time granularity: do they emphasize hourly detail, day summaries, or multi-day overviews?
- Interaction: is it a search-first flow, a location-first flow, or a dashboard with saved places?
- Trust signals: do they show data source transparency, update times, or alert provenance?
At TechTide Solutions, we’re opinionated about one thing: a weather app should never surprise users with “missing” information. If wind is absent, we explain why. If precipitation isn’t available, we label the uncertainty. Trust is the feature that keeps the app installed.
2. Choose your feature set: current conditions, precipitation, near-future forecasts, and optional add-ons
Feature selection is where teams either build a focused product—or accidentally commit to running a mini meteorology platform. Our bias is to ship a lean “weather core” and then add upgrades only when you can justify the cost in API usage, UI complexity, and ongoing maintenance.
The must-have core (what we ship first)
For a first release, we typically include:
- Current conditions: temperature, description, and an icon that matches the description.
- Wind: speed plus a simple qualitative label (calm, breezy, gusty) driven by product rules.
- Precipitation signals: either probability (forecast) or “rain/snow volume” (if provided).
- Location clarity: show the resolved location name so users know what area the data represents.
Optional add-ons (only if they match your niche)
After the core, we choose add-ons that align with the job-to-be-done:
- Forecast summaries: brief human-readable text can outperform a dense chart for many audiences.
- Geolocation lookup: frictionless UX, but it introduces permission prompts and privacy concerns.
- Saved locations: high retention value, plus the need for storage and syncing decisions.
- Weather alerts: powerful, but you must define severity, delivery channels, and user controls.
- Maps/radar: visually impressive, but often the most expensive feature in data and UI complexity.
A practical heuristic we use is “one new surface area at a time.” If you add a new data type (alerts), avoid simultaneously adding a new platform surface (mobile + desktop) and a new identity surface (accounts) unless you have the budget to sustain it.
3. Pick the platform and technology stack that match your goals
Platform decisions aren’t just about developer preference. They’re about distribution, performance, and how much control you need over the runtime environment.
Web app: fastest path to a shareable product
In a browser-based weather app, the biggest wins are speed of iteration and reach. A simple static site can be deployed quickly, and teams can validate UX flows without building an installer, packaging a desktop app, or dealing with app-store constraints.
Python CLI: best for automation and internal tooling
For internal operations, a CLI tool is often the right first product. It fits into scripts, cron jobs, and DevOps routines. We’ve built “weather checks” that feed into runbooks, operational dashboards, and even pre-flight checklists for teams with safety concerns.
Python desktop GUI: great for controlled environments
A Tkinter GUI can be a strong option when you want a simple desktop tool without building a full cross-platform stack. That said, desktop UX expectations are different; users expect the app to remain responsive even if the network is slow, which pushes you toward background tasks and careful event-loop design.
Our philosophy is to pick the platform that matches distribution realities. If the app needs to live inside an existing internal portal, web is natural. If it needs to run where browsers are constrained or offline workflows matter, Python becomes more attractive.
Choose a weather API provider and set up your API key APPID
1. Understand what an API key APPID is and how weather APIs authenticate requests
A weather API is only as useful as its reliability and policy clarity. In practice, you’re outsourcing a critical product function to a third party, which means you must treat integration design as a first-class part of the app.
What “APPID” really means in day-to-day development
Many weather providers use an API key mechanism: you register, receive a key, and include it in requests. OpenWeather’s documentation describes using your key via the appid parameter, which is why you’ll often see “APPID” referenced in tutorials and code snippets.
At TechTide Solutions, we treat API keys as secrets, not configuration trivia. Keys leak in surprising ways: browser devtools screenshots, public repos, shared Slack snippets, or logging. Even when the data seems harmless, an exposed key can rack up usage costs or trigger account suspensions that break your product at the worst time.
Client-side versus server-side key usage
Here’s the trade-off we want you to understand early:
- Client-side calls (from JavaScript in the browser) are simple, but your key can be discovered.
- Server-side calls (via your backend) protect secrets, but you now run infrastructure and caching.
For a learning project, calling from the browser is fine. For a production app, we usually introduce a thin backend proxy that enforces rate limiting, caches results, and prevents key exposure—especially if the API terms discourage client-side key distribution.
2. API request essentials: endpoints, query parameters, and units like metric and imperial
Weather APIs often look uniform—until you hit edge cases. One endpoint might accept city names, another expects coordinates, and a third might return richer forecast data but require a different subscription plan.
Endpoints: decide which “weather story” you’re telling
We like to choose endpoints based on the UX story:
- Search by city name is user-friendly but can be ambiguous (“Springfield”).
- Search by coordinates is precise but typically needs geocoding or geolocation.
- Forecast endpoints can provide richer timelines but also create more UI obligations.
When you’re using OpenWeather, the “Current weather data” documentation is a practical reference for parameters like units, language, and location selectors, including the units parameter supporting standard, metric, and imperial.
Units: product decision masquerading as a query string
Units aren’t merely preference. In business contexts, units can be compliance, safety, or operational alignment. A U.S.-based consumer app might default to imperial; a scientific context might prefer standard units; a global travel experience may need a per-user setting.
In our builds, we store unit choice as an explicit state (and often include it in saved preferences) because it changes both display formatting and user trust. Nothing undermines confidence like a temperature that “looks wrong” because the app quietly switched units.
3. Plan around call limits and usage policies to prevent disruptions
Weather apps live and die on continuity. If you hit a quota wall, your UI can become a blank card of shame, and your users will assume your entire product is unreliable.
Know your limits and design around them
OpenWeather’s pricing page lists a free tier allowance of 1,000 API calls per day for free, which is generous for prototypes but still easy to burn through if you trigger requests on every keypress, every page refresh, or every auto-update without caching.
Our practical approach to avoiding “quota outages”
- Caching: store recent results per location for a short window, especially for repeated lookups.
- Debouncing: wait until the user pauses typing before firing a search request.
- Backoff: when the API says “slow down,” reduce request frequency automatically.
- Graceful staleness: if fresh data fails, show the last known data with a clear label.
We also recommend reading any provider’s usage policy carefully. In addition to commercial APIs, some teams use public sources: NOAA’s weather API documentation emphasizes that the service is open data, free to use for any purpose, but still protected by reasonable rate limits to prevent abuse. That blend—open access with guardrails—is exactly why “responsible API usage” belongs in your feature definition, not just your error handling.
Create the HTML structure for a simple weather app UI
1. City input and search button patterns for user-friendly lookups
Our HTML goal is simple: a form-like interaction that’s keyboard-friendly, easy to scan, and structured so JavaScript can update it without brittle DOM hacks.
Prefer semantic structure over div soup
A weather UI is a great excuse to practice clean semantics. Labels matter for accessibility, and a predictable structure makes it easier to maintain over time.
<main class="app"> <section class="card" aria-live="polite"> <header class="card__header"> <h2 class="card__title">Weather Lookup</h2> <p class="card__subtitle">Search a city to see current conditions.</p> </header> <form class="search" id="searchForm"> <label class="search__label" for="cityInput">City</label> <div class="search__row"> <input id="cityInput" name="city" class="search__input" type="text" autocomplete="address-level2" placeholder="e.g., Seattle" required /> <button class="search__button" type="submit">Search</button> </div> </form> <section class="result" id="result"> <!-- Filled by JavaScript --> </section> </section></main>Notice what we did there: the form can submit via button click or Enter key, and the result region is ready to be updated with accessible announcements. That’s not overengineering; it’s the difference between “works on my machine” and “works for users.”
2. Weather display components: location name, temperature, description, wind speed, date, and icons
Weather data becomes useful when it’s legible. The UI should guide the eye: location first, then the primary metric (temperature), then supporting context like description and wind.
A display layout that maps cleanly to JSON fields
We build our UI components to mirror typical API response structure. That reduces mapping bugs and makes it easier to handle partial data.
<section class="weather"> <div class="weather__top"> <div> <h3 class="weather__location" id="locationName"></h3> <p class="weather__date" id="displayDate"></p> </div> <img class="weather__icon" id="weatherIcon" alt="" /> </div> <div class="weather__primary"> <p class="weather__temp"><span id="temperature"></span><span class="unit" id="tempUnit"></span></p> <p class="weather__desc" id="description"></p> </div> <dl class="weather__meta"> <div class="meta__row"> <dt>Wind</dt> <dd id="windSpeed"></dd> </div> </dl></section>Icons deserve a special mention. They are not decoration; they’re information compression. We recommend giving the image an empty alt attribute if the same info is already present as text, which prevents duplicate announcements for screen reader users.
3. Hidden states and placeholders for loading, success, and error scenarios
Most weather apps fail UX-wise not because they can’t fetch data, but because they don’t manage the time between “user asked” and “system knows.” That gap is where anxiety and repeated clicks happen.
Design explicit UI states
We implement three visible states:
- Loading state: shows that the request is in progress and disables repeated submits.
- Success state: renders the weather content with consistent spacing and typography.
- Error state: displays a clear message plus a suggestion to recover.
<div class="status" id="status"></div><!-- Example status messages (set by JS) --><!-- Loading: "Fetching weather..." --><!-- Error: "We couldn’t find that city. Try adding a country code." -->At TechTide Solutions, we also add a “blank state” for the first page load: a short instruction that tells users what to do next. Blank screens are a tax on attention, and weather apps are usually built for quick attention, not long reading.
Style the weather app with CSS: layout, responsive design, and accessibility
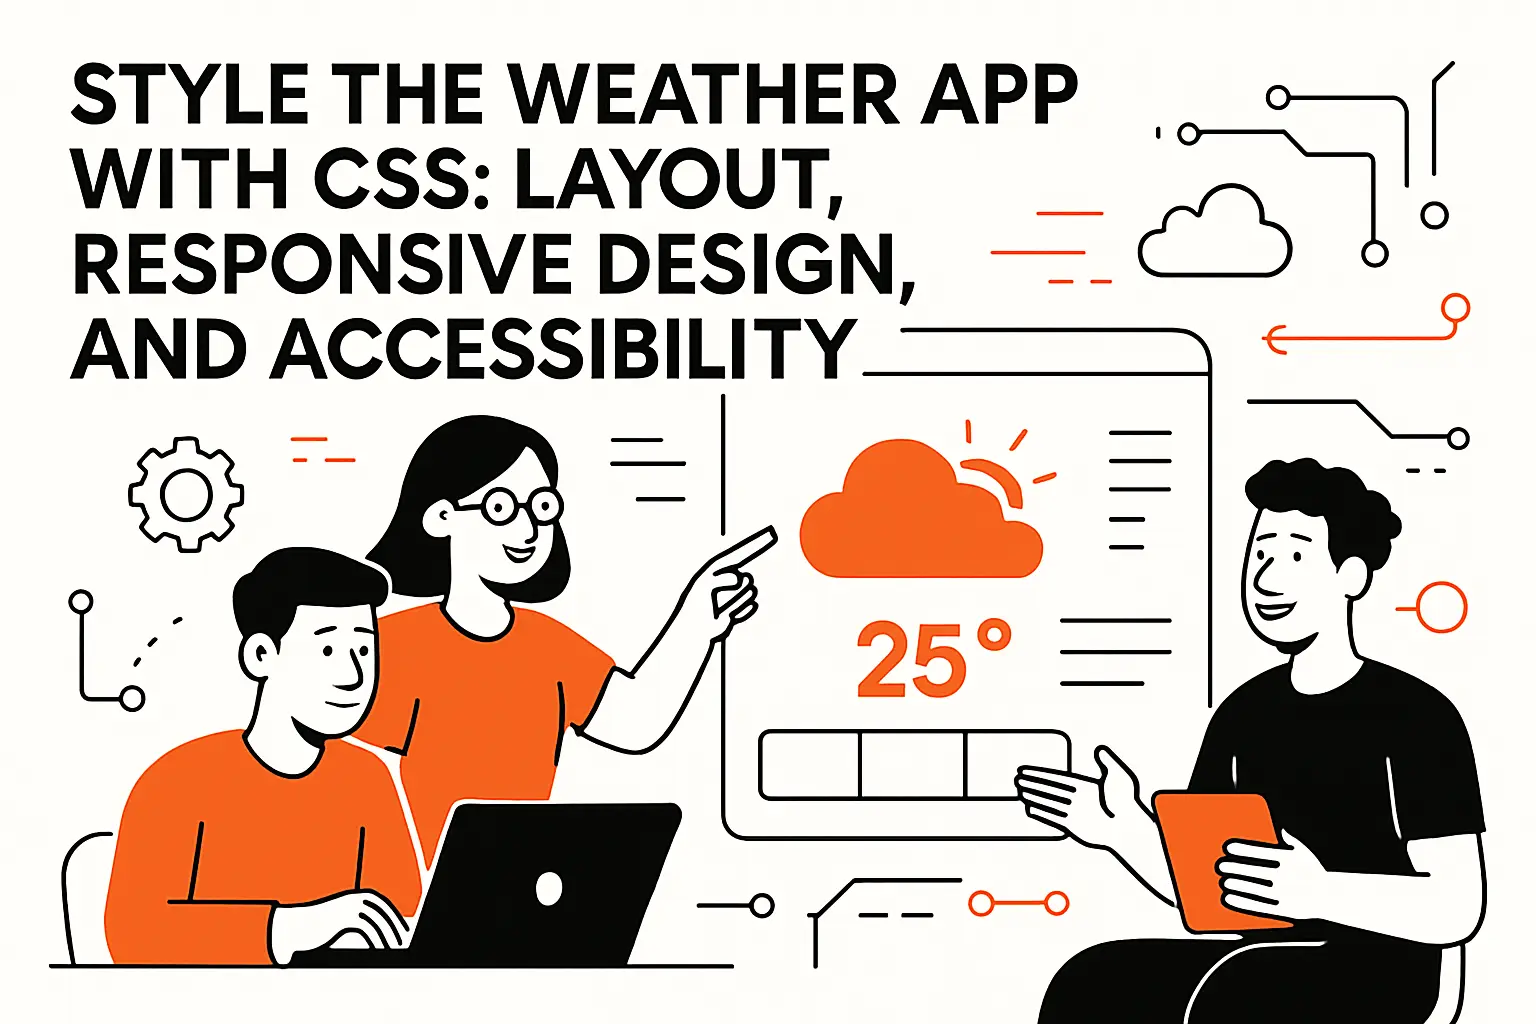
1. Container and card layout patterns for clean, centered presentation
CSS is where a weather app becomes “a tool people trust” rather than “a demo that looks unfinished.” Our preferred layout is a centered card with predictable spacing and a maximum width that keeps text readable on large screens.
A minimal CSS foundation
:root { --bg: #0b1220; --card: rgba(255, 255, 255, 0.08); --text: #f3f6ff; --muted: rgba(243, 246, 255, 0.75); --accent: #7dd3fc;}* { box-sizing: border-box; }body { margin: 0; font-family: system-ui, -apple-system, Segoe UI, Roboto, Arial, sans-serif; color: var(--text); background: radial-gradient(circle at top, #122046, var(--bg)); min-height: 100vh; display: grid; place-items: center; padding: 1.5rem;}.card { width: 100%; max-width: 42rem; background: var(--card); border: 1px solid rgba(255, 255, 255, 0.12); border-radius: 1rem; padding: 1.25rem; backdrop-filter: blur(10px);}Even in a small app, design tokens pay off. If you later add a “severe weather” state, you’ll be grateful that accent colors and spacing are centrally defined.
2. Visual polish: gradients, background imagery, hover effects, and spacing
Weather apps invite visual flair because weather itself is visceral—storms, sun, haze, snow. Still, we recommend a “restraint-first” approach: polish should never make the UI harder to parse.
Polish that supports comprehension
- Gradients: use them to create depth behind the card, not to reduce text contrast.
- Spacing: apply consistent gaps so users can scan temperature, description, and wind quickly.
- Hover/focus: make interactive elements feel interactive without “jumping” layouts.
.search__row { display: flex; gap: 0.75rem; align-items: stretch;}.search__input { flex: 1; padding: 0.75rem 0.85rem; border-radius: 0.75rem; border: 1px solid rgba(255, 255, 255, 0.18); background: rgba(0, 0, 0, 0.25); color: var(--text);}.search__button { padding: 0.75rem 1rem; border-radius: 0.75rem; border: 1px solid rgba(125, 211, 252, 0.6); background: rgba(125, 211, 252, 0.15); color: var(--text); cursor: pointer;}.search__button:focus-visible,.search__input:focus-visible { outline: 3px solid rgba(125, 211, 252, 0.55); outline-offset: 2px;}When we design weather UI, we imagine someone reading it in bad conditions: glare on a phone screen, one hand holding a bag, attention split across tasks. That mental model naturally pushes you toward simpler typography, fewer competing colors, and stronger hierarchy.
3. Accessibility considerations: contrast, font sizing, text alignment, and readable visuals
Accessibility isn’t a “nice-to-have” for weather apps. Weather is often checked by older users, users with low vision, and users under stress (storms, travel disruptions, safety decisions). If the UI is hard to read, the product fails at the moment it matters most.
Contrast is non-negotiable
We align our color choices with WCAG guidance; the W3C explains that normal text should meet a contrast ratio of at least 4.5:1, and that single rule prevents a long tail of readability issues.
Readable formatting choices that scale
- Line length: keep paragraphs narrow enough that the eye doesn’t get lost.
- Text alignment: left-aligned body text is typically easier to read than centered blocks.
- Motion: avoid rapid animations that can distract or trigger discomfort.
One practical habit we’ve adopted is testing with “fake bad conditions.” We’ll dim a screen, crank brightness, zoom text, and try the UI on a small device. Weather apps are about clarity under uncertainty, so the UI must be calm under pressure.
Fetch and display live weather data with JavaScript

1. How to create a weather app request: build the API URL and fetch data asynchronously
Now we connect the UI to real data. The main idea is to build a request URL from user input, call the API asynchronously, and update the DOM based on the response.
Why fetch is a good default
In modern browsers, fetch is a clean baseline. MDN describes that returns a promise that is fulfilled once the response is available, which encourages a structured approach: await the network call, check success, parse JSON, then render.
Constants and configuration (avoid repeating endpoints)
To keep code maintainable—and to avoid scattering URLs everywhere—we define endpoints once:
<script> // Put your API key in a safer place for production. const OPENWEATHER_CURRENT_URL = "https://api.openweathermap.org/data/2.5/weather"; const DEFAULT_UNITS = "imperial"; // or "metric"</script>For learning, putting a key in JavaScript is acceptable. For production, we typically move the call behind a server endpoint so the browser never sees the secret.
JavaScript: wire up the form submit
<script> const form = document.getElementById("searchForm"); const cityInput = document.getElementById("cityInput"); const result = document.getElementById("result"); const statusEl = document.getElementById("status"); function setStatus(message, kind = "info") { statusEl.textContent = message; statusEl.className = `status status--${kind}`; } async function fetchCurrentWeatherByCity(city, units) { const url = new URL(OPENWEATHER_CURRENT_URL); url.searchParams.set("q", city); url.searchParams.set("units", units); url.searchParams.set("appid", window.OPENWEATHER_APPID); // define safely const response = await fetch(url.toString()); // fetch resolves even for error responses; we must handle status ourselves. const data = await response.json(); return { ok: response.ok, status: response.status, data }; } form.addEventListener("submit", async (e) => { e.preventDefault(); const city = cityInput.value.trim(); if (!city) return; setStatus("Fetching weather...", "loading"); result.innerHTML = ""; try { const { ok, data } = await fetchCurrentWeatherByCity(city, DEFAULT_UNITS); if (!ok) { const msg = data?.message ? String(data.message) : "Request failed."; setStatus(msg, "error"); return; } setStatus("", "success"); renderWeather(data, DEFAULT_UNITS); } catch (err) { setStatus("Network error. Check your connection and try again.", "error"); } }); function renderWeather(payload, units) { const name = payload?.name ?? "Unknown location"; const country = payload?.sys?.country ? `, ${payload.sys.country}` : ""; const temp = payload?.main?.temp; const desc = payload?.weather?.[0]?.description ?? ""; const icon = payload?.weather?.[0]?.icon ?? ""; const wind = payload?.wind?.speed; const tempUnit = units === "metric" ? "°C" : "°F"; const windUnit = units === "metric" ? "m/s" : "mph"; result.innerHTML = ` <section class="weather"> <div class="weather__top"> <div> <h3 class="weather__location">${escapeHtml(name)}${escapeHtml(country)}</h3> <p class="weather__date">${formatLocalDate()}</p> </div> <img class="weather__icon" alt="" src="https://openweathermap.org/img/wn/${icon}@2x.png" /> </div> <div class="weather__primary"> <p class="weather__temp">${typeof temp === "number" ? Math.round(temp) : "—"}<span class="unit">${tempUnit}</span></p> <p class="weather__desc">${escapeHtml(desc)}</p> </div> <dl class="weather__meta"> <div class="meta__row"> <dt>Wind</dt> <dd>${typeof wind === "number" ? wind : "—"} ${windUnit}</dd> </div> </dl> </section> `; } function formatLocalDate() { return new Intl.DateTimeFormat(undefined, { weekday: "short", month: "short", day: "numeric" }).format(new Date()); } function escapeHtml(str) { return String(str) .replaceAll("&", "&") .replaceAll("<", "<") .replaceAll(">", ">") .replaceAll('"', """) .replaceAll("'", "'"); }</script>That’s the core loop: validate input, show loading state, fetch, check success, render. Once you internalize that rhythm, you can build almost any API-driven UI.
2. Parse the JSON response and map key fields to the UI
Parsing JSON is easy. Mapping JSON into a UI that doesn’t break when data is missing is the real engineering work.
Expect partial data and model defensively
OpenWeather’s FAQ notes that if certain phenomena haven’t occurred, you might not see those parameters in the response, and their model is updated every 10 minutes, which implies two realities: the payload can vary and the data changes frequently.
Because of that, we treat API data as “untrusted input” just like user input. The OWASP API Security Top 10 lists risks including API4:2023 – Unrestricted Resource Consumption, and even though our weather app is not a banking platform, the lesson carries: defend your app from unexpected payload sizes, repeated calls, and slow upstream responses.
Our mapping rules of thumb
- Fallbacks: show a placeholder when a field is missing instead of crashing the render function.
- Normalization: convert casing (“clear sky” vs “Clear Sky”) consistently for UI polish.
- Display rules: keep formatting logic in a single place so it doesn’t drift across the codebase.
When a weather app feels stable, it’s often because the UI is designed to keep its composure when the payload isn’t perfect.
3. Quality-of-life upgrades: default city, date/time formatting, and smoother UI updates
A “working” weather app can still feel rough. Quality-of-life details are what make users come back.
Default city and remembered searches
In prototypes, we often start with a default city so the app loads with content instead of an empty state. For a more realistic experience, we store the last successful search in local storage and restore it on reload.
Smoother UI updates
Rather than replacing the entire result container repeatedly, we sometimes update only the text nodes that changed. That reduces layout shift and makes the UI feel less jittery—especially when you add more components later.
Time formatting without confusion
Weather is a time-based story. Even if you only show current conditions, users implicitly ask: “Is this current where I am, or where the city is?” A simple local date label can help, and when you add forecasts later you’ll want to display time zones clearly so a “morning rain” doesn’t land in the wrong part of the day.
We’re fans of building these upgrades as small, isolated helpers. Weather apps grow quickly once you add saved locations and forecasts, so modularity saves you from a maintenance mess.
Build a Python weather app: CLI workflow and Tkinter GUI option
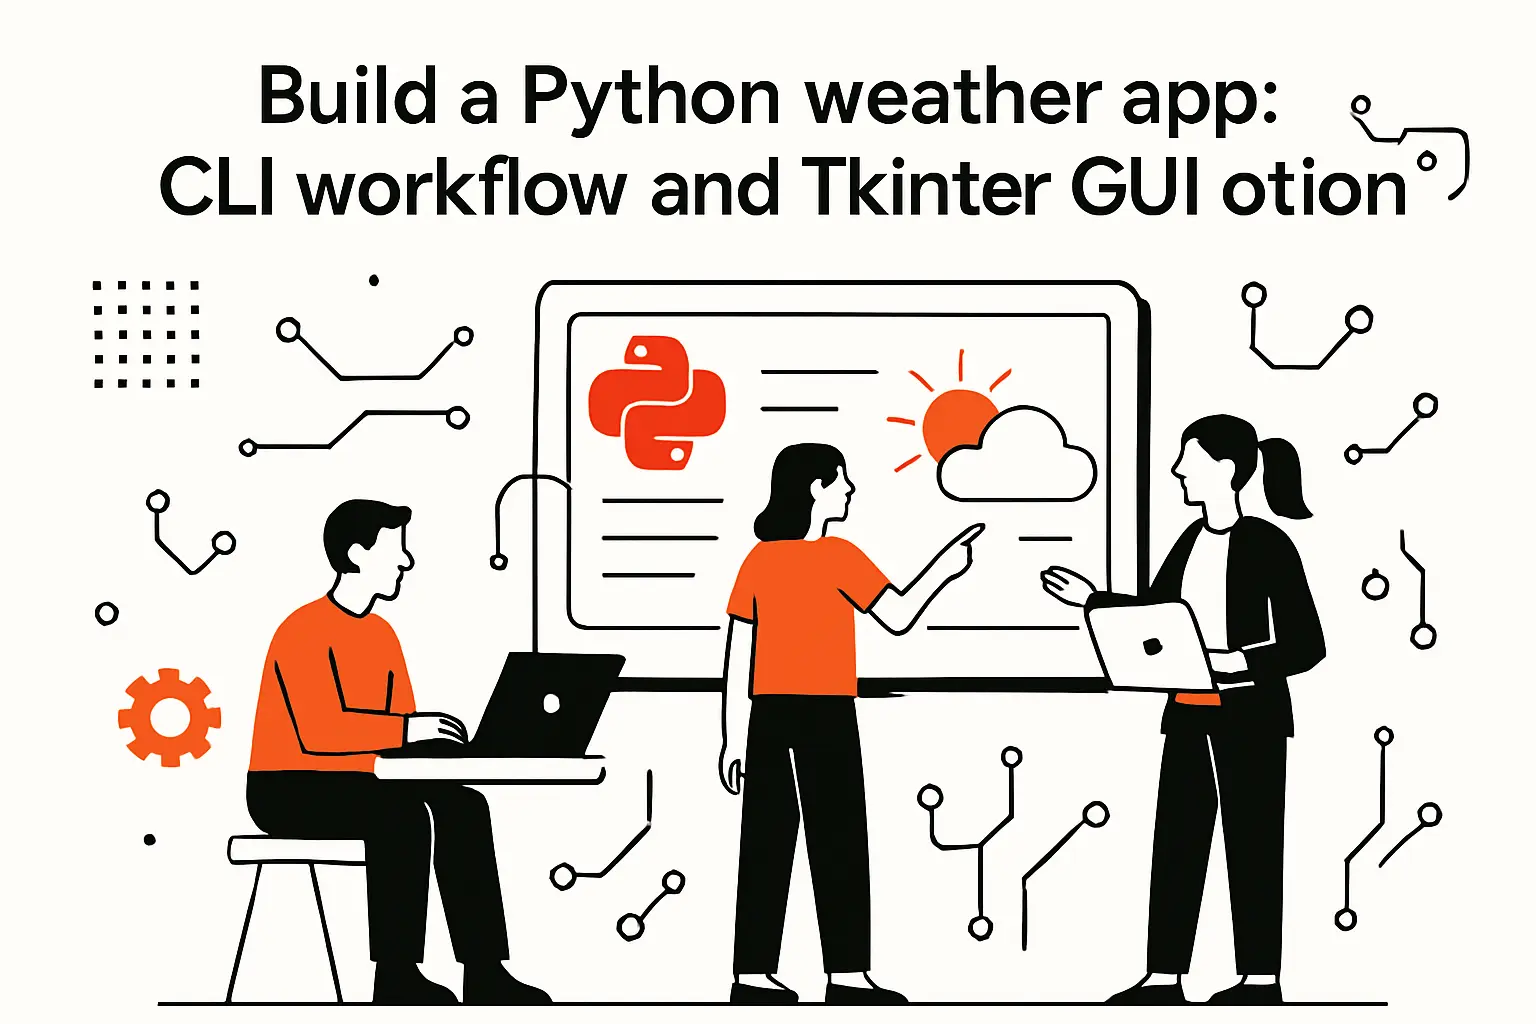
1. CLI approach: collect user input and support optional flags for units
A CLI weather tool is a delightfully honest product. It’s blunt, fast, and scriptable, which makes it ideal for internal workflows and power users.
Use argparse for a predictable interface
Python’s standard library includes automatically generates help and usage messages via argparse, which is exactly what we want when the tool will be used by teammates who didn’t write it.
import osimport argparseimport requestsOPENWEATHER_CURRENT_URL = "https://api.openweathermap.org/data/2.5/weather"def get_weather(city: str, units: str, appid: str) -> dict: params = {"q": city, "units": units, "appid": appid} resp = requests.get(OPENWEATHER_CURRENT_URL, params=params, timeout=10) data = resp.json() return {"ok": resp.ok, "status": resp.status_code, "data": data}def main(): parser = argparse.ArgumentParser(description="Simple CLI weather lookup") parser.add_argument("city", help="City name to look up") parser.add_argument("--units", choices=["metric", "imperial", "standard"], default="imperial") args = parser.parse_args() appid = os.environ.get("OPENWEATHER_APPID") if not appid: raise SystemExit("Missing OPENWEATHER_APPID environment variable") result = get_weather(args.city, args.units, appid) if not result["ok"]: message = result["data"].get("message", "Request failed") raise SystemExit(f"Error: {message}") payload = result["data"] name = payload.get("name", "Unknown") desc = (payload.get("weather") or [{}])[0].get("description", "") temp = payload.get("main", {}).get("temp", None) wind = payload.get("wind", {}).get("speed", None) print(f"{name}: {temp} ({desc}), wind {wind}")if __name__ == "__main__": main()In production-quality CLI tools, we add nicer output formatting, clearer error categories, and sometimes JSON output for integrations. Still, the structure above—parse args, load secret, call API, validate result, print—is the pattern you’ll reuse endlessly.
2. Protect your API key: config files, secrets management, and gitignore
Secret handling is where beginner projects accidentally turn into incident reports. Even if your weather data is harmless, your API key is a billable credential that can be abused.
Our default secret strategy for Python
- Environment variables: simple and works well for local development and CI.
- .env files: useful locally, but always excluded from version control.
- Secrets managers: the mature choice in cloud environments and regulated contexts.
A practical approach is to load OPENWEATHER_APPID from the environment for local runs, and use your deployment environment (containers, CI/CD, platform secrets) to inject it in production. When we build this for clients, we also add automated scanning and pre-commit hooks to reduce the chance of accidental secret commits.
Client-side JavaScript keys are the tricky case. If you must call an API directly from the browser, assume the key will be discovered. In that scenario, we either use a provider flow designed for public clients or we put a server proxy in front to keep the real key private.
3. Desktop GUI approach: Tkinter input, fetch button, and results display
Tkinter is a pragmatic choice for a desktop weather utility: it’s widely available, doesn’t require extra GUI dependencies for many environments, and is good enough for forms-and-results workflows.
Tkinter’s event loop is the main design constraint
Python’s documentation explains that Tcl/Tk applications are normally event-driven, which is another way of saying: if you block the UI thread with a slow network call, the window freezes and the app feels broken.
In our implementations, we either use threading for network calls or schedule asynchronous work carefully. The UI must remain responsive even when the weather API is slow, rate-limited, or temporarily unreachable.
import osimport threadingimport tkinter as tkfrom tkinter import ttkimport requestsOPENWEATHER_CURRENT_URL = "https://api.openweathermap.org/data/2.5/weather"def fetch_weather(city, units, appid): resp = requests.get( OPENWEATHER_CURRENT_URL, params={"q": city, "units": units, "appid": appid}, timeout=10 ) return resp.ok, resp.json()def run_app(): appid = os.environ.get("OPENWEATHER_APPID") root = tk.Tk() root.title("Weather") city_var = tk.StringVar() units_var = tk.StringVar(value="imperial") output_var = tk.StringVar(value="Enter a city and click Fetch.") def on_fetch(): city = city_var.get().strip() if not city: output_var.set("Please enter a city.") return if not appid: output_var.set("Missing OPENWEATHER_APPID environment variable.") return output_var.set("Fetching...") def worker(): ok, data = fetch_weather(city, units_var.get(), appid) def update(): if not ok: output_var.set(f"Error: {data.get('message', 'Request failed')}") return name = data.get("name", "Unknown") temp = data.get("main", {}).get("temp", "—") desc = (data.get("weather") or [{}])[0].get("description", "") output_var.set(f"{name}: {temp} ({desc})") root.after(0, update) threading.Thread(target=worker, daemon=True).start() frm = ttk.Frame(root, padding=12) frm.grid() ttk.Label(frm, text="City").grid(column=0, row=0, sticky="w") ttk.Entry(frm, textvariable=city_var, width=30).grid(column=0, row=1, sticky="we") ttk.Label(frm, text="Units").grid(column=0, row=2, sticky="w", pady=(8, 0)) ttk.Combobox(frm, textvariable=units_var, values=["imperial", "metric", "standard"]).grid(column=0, row=3, sticky="we") ttk.Button(frm, text="Fetch", command=on_fetch).grid(column=0, row=4, sticky="we", pady=(10, 0)) ttk.Label(frm, textvariable=output_var, wraplength=320).grid(column=0, row=5, sticky="w", pady=(10, 0)) root.mainloop()if __name__ == "__main__": run_app()That GUI is intentionally small, but the pattern matters: do network work off the UI thread, then marshal updates back onto the UI loop. Once you’re comfortable with that, you can add richer components like icons, forecast lists, and saved locations.
Make it reliable: input validation, error handling, and responsible API usage
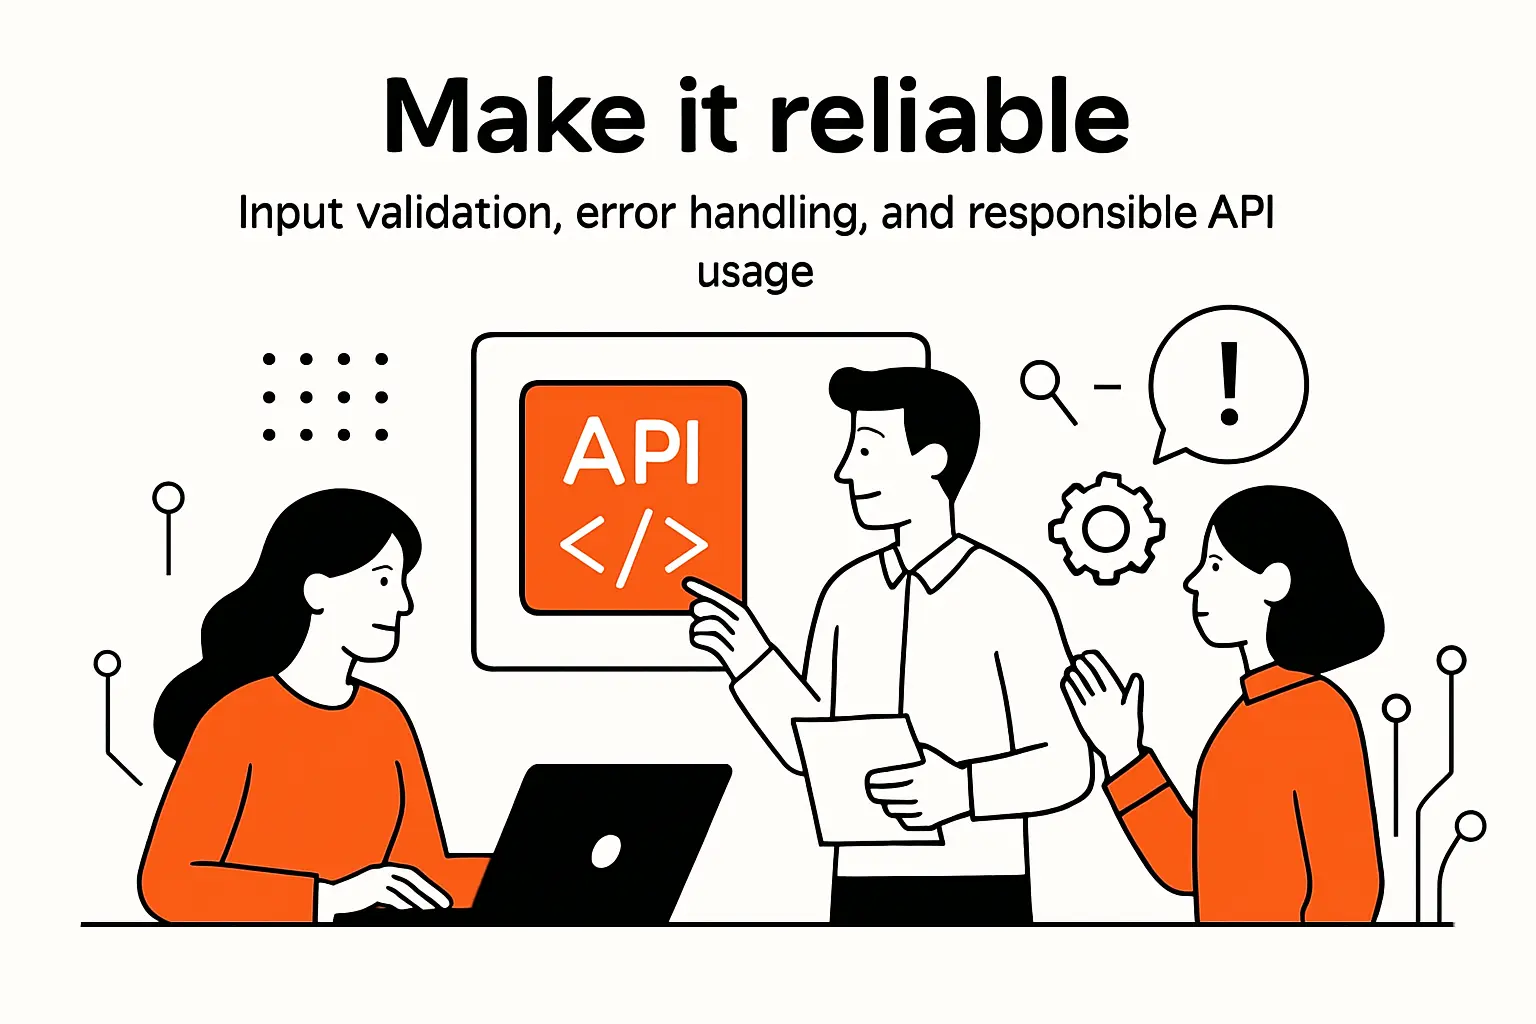
1. Handle common failures: invalid API key, city not found, and request errors
Reliability is where “tutorial app” becomes “product.” The difference is how you behave when things go wrong, because things will go wrong: users mistype locations, networks drop, providers throttle, and keys expire or get rotated.
Classify errors instead of dumping raw messages
We classify failures into buckets because each bucket needs a different recovery path:
- Authentication failures: tell the user it’s a configuration issue (and log it internally).
- Not found: guide the user to refine the search (add region, spelling, or try a nearby city).
- Rate limit: slow down automatically and communicate a brief “try again shortly” message.
- Network failure: suggest checking connectivity and avoid retry storms.
On the web, it’s easy to accidentally treat every error the same because fetch only throws on network failures. In Python, it’s easy to accidentally crash on JSON parsing when a provider returns HTML or a transient error response. Robust apps take a breath, check the response shape, and proceed calmly.
2. Graceful recovery: user-friendly messages for both web apps and CLI tools
Weather apps are emotional products. People check them before trips, before outdoor work, before school runs, and during storms. If an error message reads like a stack trace, you’ve lost the moment.
Recovery language we prefer
- Clarity: “We couldn’t find that location” beats “Error: invalid query.”
- Next action: add “Try adding a country code” or “Check spelling” when appropriate.
- Ownership: avoid blaming the user; treat errors as a shared problem to solve.
For CLI tools, we recommend returning non-zero exit codes for failures so scripts can react properly, while still printing human-readable guidance. For web apps, we keep the last successful state visible and present the error as a non-blocking banner when possible.
3. Performance and trust: avoid excessive API calls and prevent lag or instability
Performance isn’t just speed. In weather apps, performance is also “predictability.” Users don’t mind waiting briefly if the UI clearly shows progress and doesn’t glitch, spam requests, or flicker between states.
Our performance checklist for API-driven UI
- Debounce searches: avoid firing requests on every keystroke unless you truly need live suggestions.
- Cache results: store recent responses per location so refreshes don’t hammer the provider.
- Set timeouts: never let a request hang indefinitely in Python or in backend proxies.
- Prevent duplicate submits: disable buttons during loading to avoid accidental request bursts.
Trust follows performance. If the UI is stable, the product feels reliable. If the UI jitters or errors frequently, users assume your forecast is wrong even when the data is fine. That’s why we say weather apps are as much UX reliability projects as they are API integrations.
TechTide Solutions: building custom weather apps and API-driven experiences

1. Custom web and mobile weather app development tailored to your customer needs
When clients ask us for a weather app, the request is rarely “just weather.” More often, weather is a personalization layer: delivery ETAs adjusted for storms, service availability tied to conditions, or safety warnings embedded into a broader experience.
How we scope weather products responsibly
Our first step is mapping the weather experience to a business decision. If weather doesn’t change a decision, we keep it simple. If weather drives an operational workflow, we invest in clarity, alerting, and resilient integrations.
From there, we design a UI that respects attention: a clear summary, supporting details only when needed, and an interface that works under stress. That approach tends to outperform “feature maximalism,” especially when the weather experience is part of a larger app.
2. API integration, data modeling, and scalable architecture for long-term growth
Integration is where weather apps become real systems. A production-grade architecture typically includes caching, fallback strategies, and observability so you can tell whether the app is failing because of user behavior, network issues, or upstream disruptions.
Architecture patterns we frequently use
- Backend-for-frontend: a thin service that tailors API responses to exactly what the UI needs.
- Normalized data models: map provider-specific fields into your own stable schema.
- Policy enforcement: rate limiting, request validation, and logging at the edge.
We also plan for provider changes. Weather APIs evolve, pricing tiers shift, and endpoints deprecate. A stable internal schema and a well-tested integration layer make those changes survivable without rewriting the entire product.
3. UI/UX refinement, testing, deployment support, and ongoing maintenance
Shipping a weather app is not a one-and-done moment. Data dependencies mean ongoing monitoring, and UI expectations change as you add forecasts, saved locations, alerts, and personalization.
Testing we consider essential
- Contract tests: verify response shapes so provider changes don’t silently break rendering.
- Error-path tests: confirm the app behaves well when the API is down or returns partial data.
- Accessibility checks: validate keyboard navigation, focus states, and readable contrast.
On the deployment side, we help teams set up environments, protect secrets, and establish logging so you can see what’s happening in the wild. Maintenance isn’t glamorous, but in API-driven products it’s the backbone of user trust.
Conclusion: a practical checklist for launching your first weather app
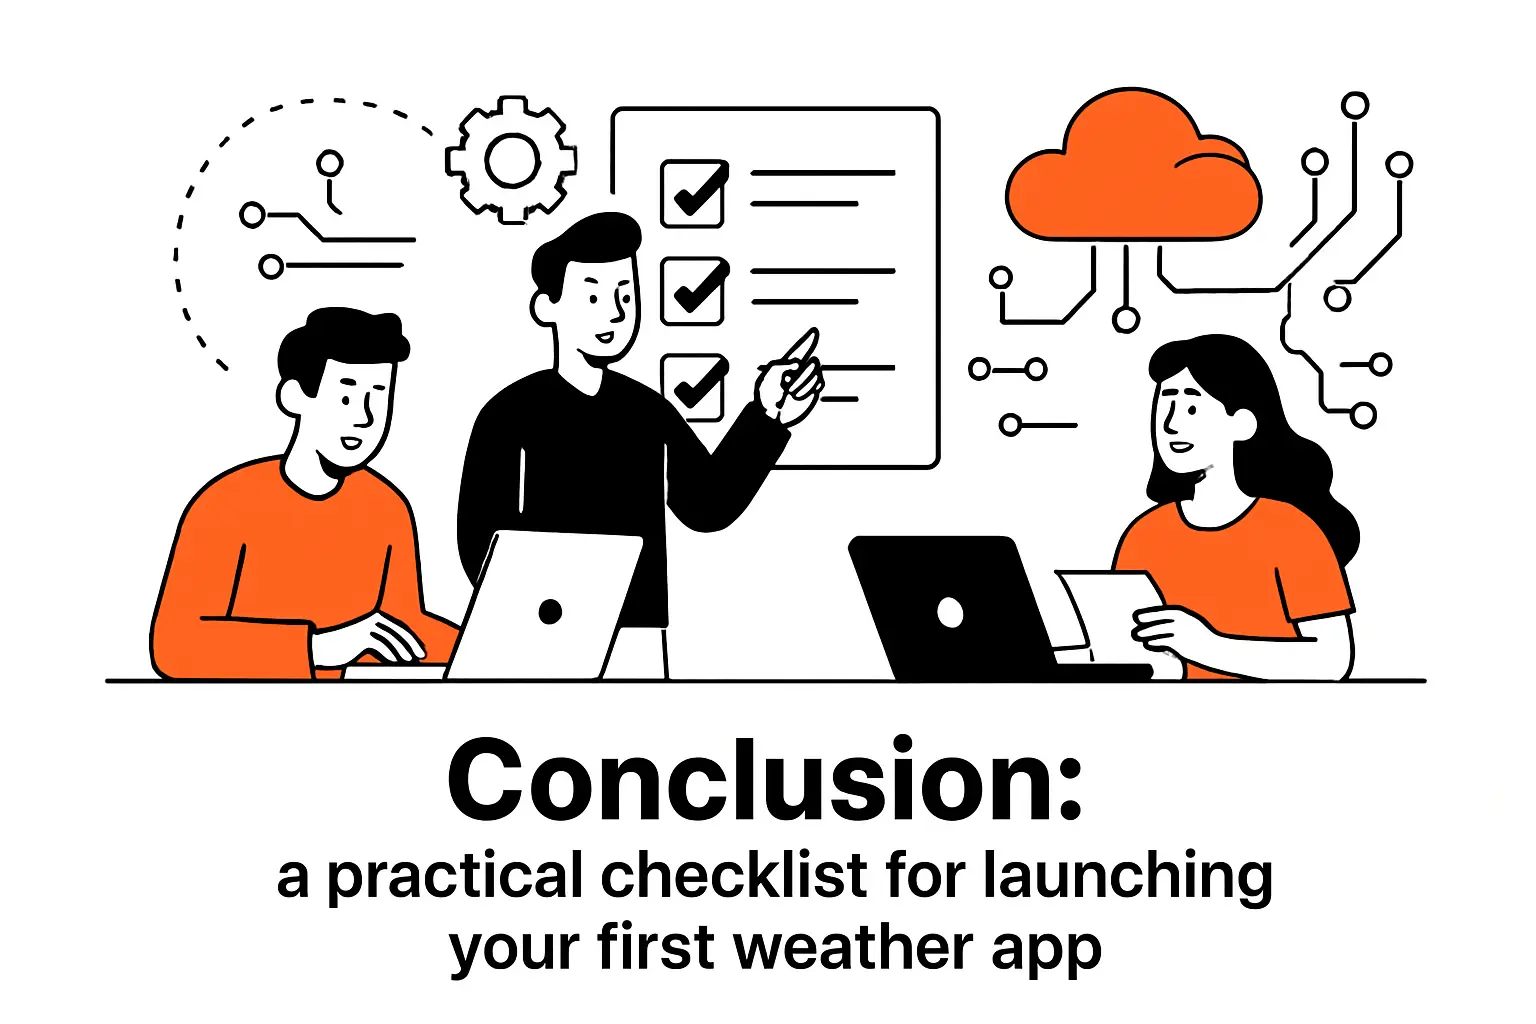
1. End-to-end recap: plan features, build the UI, integrate the API, and harden reliability
To launch a weather app that feels credible, we recommend walking through a simple checklist:
- Scope: define the niche and the job-to-be-done so your feature set stays coherent.
- Data: pick an API provider whose endpoints, policies, and reliability match your needs.
- UI: build semantic HTML with explicit states for loading, success, and failure.
- Styling: apply responsive layout and accessibility-first contrast and focus handling.
- Integration: fetch data asynchronously, validate payloads, and render defensively.
- Resilience: cache responsibly, avoid request storms, and communicate errors clearly.
- Security: treat API keys as secrets and design with realistic threat models.
At TechTide Solutions, we consider that list the “minimum viable trust” for API-driven apps. If you can check every item, you’re not just shipping a tutorial—you’re shipping something users can rely on.
2. Next upgrades: forecasts, geolocation-based lookups, and saved search history
Once your first version is stable, upgrades become far more enjoyable. Forecasts are the obvious next step, but we encourage teams to upgrade in a way that preserves product clarity:
- Forecast UI: add a simple timeline view before adding complex charts and maps.
- Geolocation: implement permission prompts with clear user value and privacy transparency.
- History and favorites: store recent searches so users can move quickly between places.
If you’re building your first weather app right now, the best next step is to pick one upgrade, implement it end-to-end, and stress-test your error handling. Which enhancement would make your users trust the experience more: a richer forecast, faster lookups, or a smoother “failure mode” when the API can’t be reached?