
At Techtide Solutions, we treat “learning Android” less like memorizing a stack of APIs and more like learning a craft: you ship something small, you watch it break in realistic ways, and you steadily develop the instincts that keep production apps stable. From a business angle, that craft matters because mobile remains a primary customer touchpoint; in Statista’s market analysis, total app-market revenue is projected to reach US$755.50bn by 2027 globally, which means even “simple” apps sit inside a competitive economy where reliability and iteration speed win.
Android app basics: OS versions, API levels, and what an app package contains
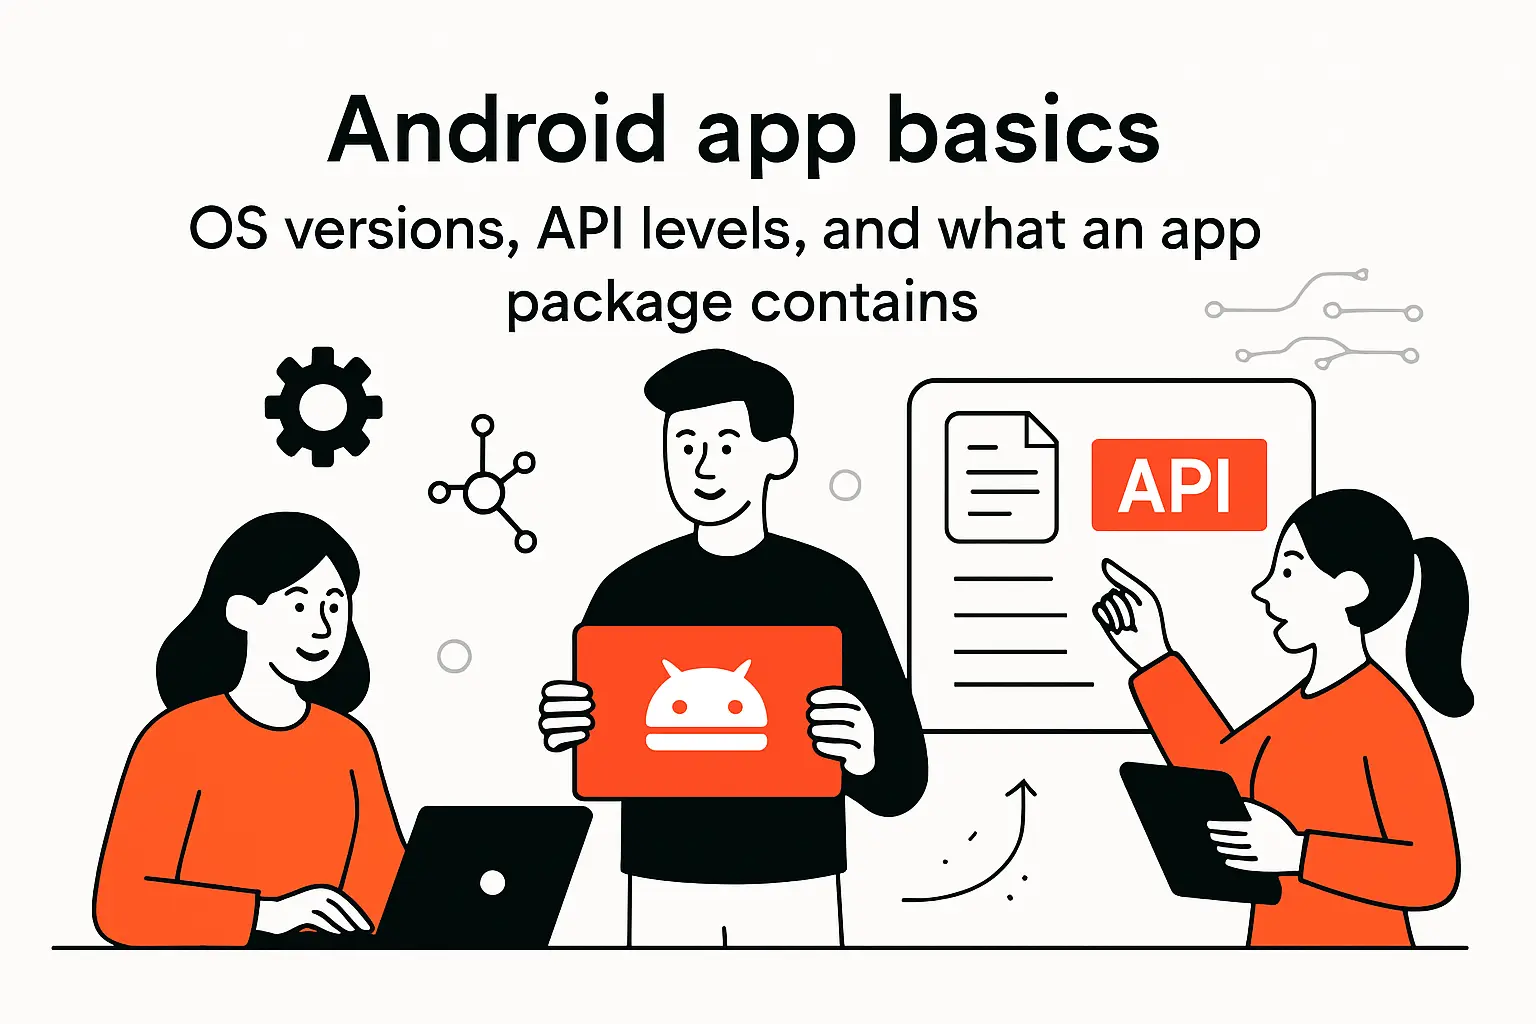
1. Android versions and API numbers as practical “version targets”
Instead of thinking “we’re building for Android phones,” we think in targets: the platform version a user runs, the API level that unlocks modern capabilities, and the compatibility boundary where older devices start to become expensive to support. Practically, Android development asks us to choose a baseline for behavior, a baseline for compilation, and a baseline for distribution, and those choices influence everything from which permissions work as expected to how background work gets scheduled.
In our delivery work, the most useful mental model is to treat platform targets as product decisions, not engineering trivia. When an app supports a newer target, it often inherits stricter privacy defaults and background limits, which can reduce abuse cases but also break “it worked on my old phone” assumptions. For a concrete anchor, Android’s guidance for Android 14 (API level 34) makes it clear how the SDK setup, compatibility testing, and build configuration align around a specific target, and we use that same alignment to plan test matrices and rollout risk.
2. What code, UI definitions, and resources do in a real Android app
An Android app is a bundle of responsibilities masquerading as a single install. Kotlin or Java code expresses behavior: fetching data, validating input, orchestrating navigation, and reacting to system events. UI definitions express intent: what the user should see, how it should respond to state changes, and how it should adapt to different screens. Resources round it out by separating “what the app says and shows” from “how the app behaves,” which keeps localization, theming, icons, and layout variants maintainable.
From our perspective, the most underrated concept for beginners is that Android is built around a resource system and a lifecycle, not just a “main function.” A field-service app, for example, might use resources to swap branding for different franchise partners, while the same Kotlin codebase enforces a consistent offline workflow. Meanwhile, lifecycle-aware behavior keeps scanning, location, and sync from draining a battery when the user backgrounded the app and forgot about it.
3. IDE, SDK, and emulator: what each tool contributes to development and testing
Tooling can feel like a maze until we assign each piece a job. The IDE is where humans work: editing code, navigating symbols, refactoring safely, and running debug sessions with visibility into logs and stack traces. The SDK is where the platform lives: APIs, build tools, and system images that let us compile and run in a predictable way. The emulator is where we rehearse: a controllable device-like environment for rapid iteration, reproducible bugs, and “what happens when rotation or low memory hits?” drills.
In practice, the payoff of understanding this separation is speed. When Gradle sync fails, we debug build tooling and dependencies rather than chasing UI code. When a permission behaves differently on a new OS behavior change, we test with a relevant system image rather than guessing. For teams, that clarity becomes a culture: developers stop treating the build as magic and start treating it as a system they can observe and improve.
Recommended reading: iOS Android Code Signing: What You Need to Know for Secure Mobile Releases
How to make an Android app: choose your language and UI approach
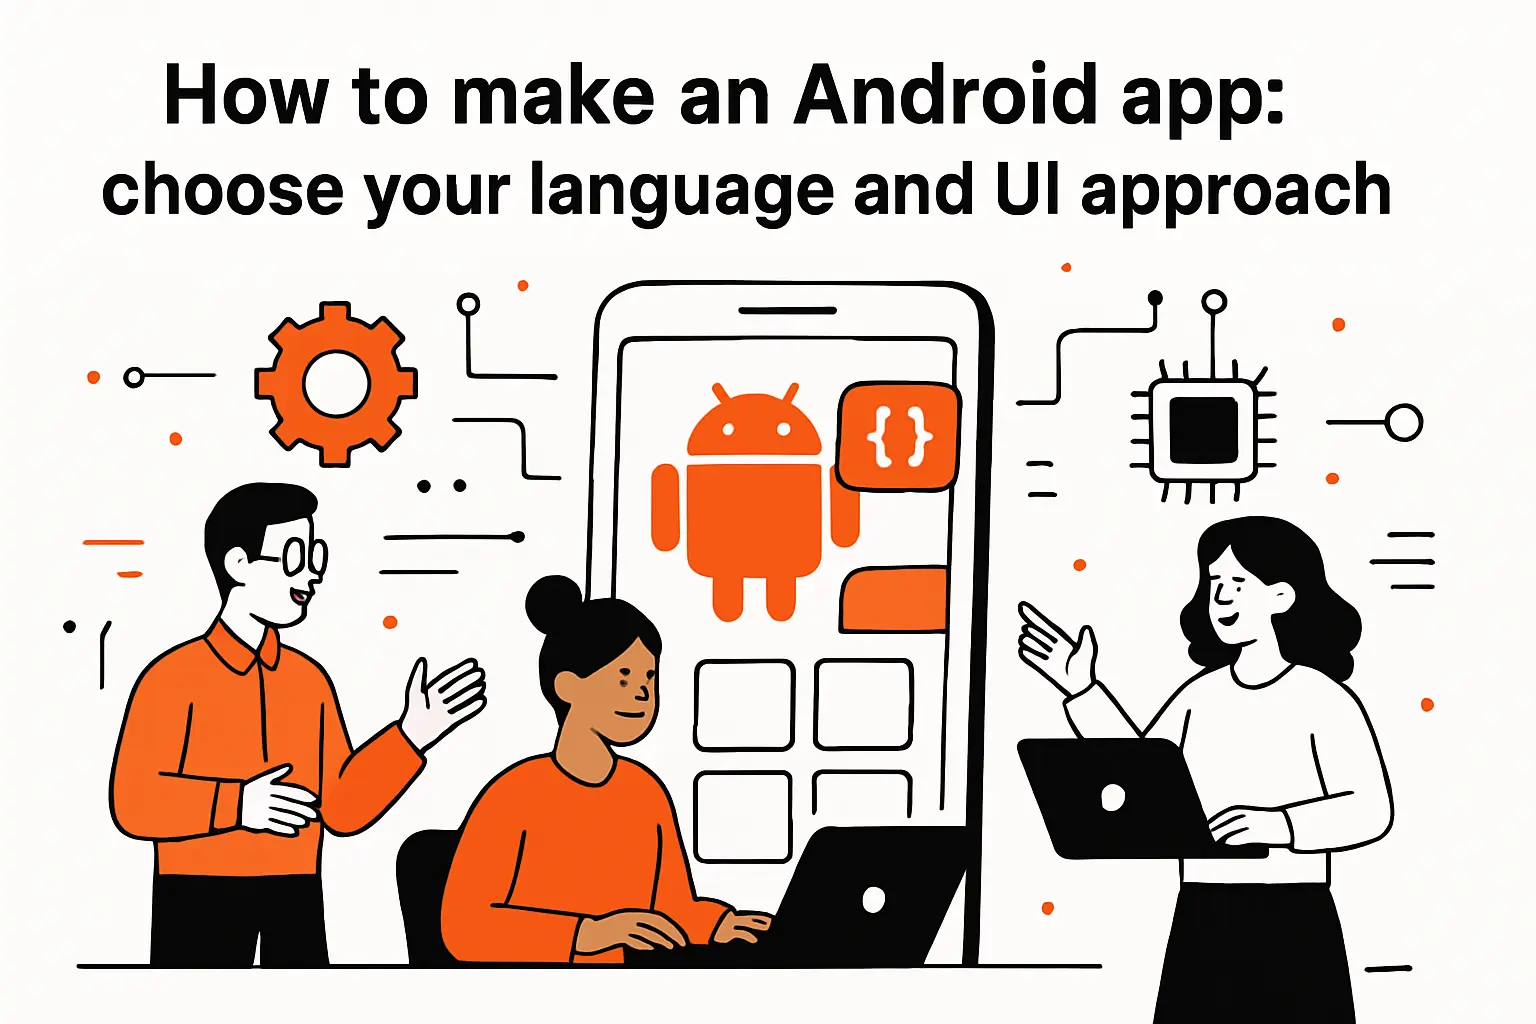
1. Kotlin and Java as core options for Android app development
Kotlin and Java both ship real Android apps, but they pull you toward different ergonomics. Kotlin’s language features reward modern app patterns: immutable data, expressive models, and asynchronous work that reads clearly when written well. Java remains important because the Android ecosystem has deep legacy, and enterprise environments often inherit Java-heavy codebases that are stable and business-critical.
At Techtide Solutions, we typically default to Kotlin for new builds because it reduces boilerplate and aligns with modern Android libraries, but we stay pragmatic. If a company has a decade of Java utilities, domain logic, and internal SDKs, a Kotlin-only posture can be counterproductive. A better strategy is often “Kotlin-first, interoperable always”: keep the door open to reusing existing Java assets while moving new development toward clearer patterns and safer defaults, as described in Android’s Kotlin-first approach guidance.
2. Jetpack Compose for UI vs XML-based UI building: understanding the paradigm shift
UI is where Android has changed the most in a beginner’s learning path. The older XML approach describes a view hierarchy, then code reaches into it to update what’s visible. Jetpack Compose flips that: you describe the UI as a function of state, and the system updates the screen when state changes. In day-to-day work, that shift reduces entire categories of “stale UI” bugs where the data updated but the screen didn’t.
We like Compose because it encourages a predictable flow: state in, UI out. That predictability matters in business apps where the UI is a moving target—pricing screens, onboarding steps, or checkout variants—and each variant can become a maintenance trap if the UI is tightly coupled to imperative updates. Compose also improves iteration speed because UI can be previewed and refactored like code, a design philosophy emphasized in Jetpack Compose is Android’s recommended modern toolkit for building native UI documentation.
3. Python on Android: BeeWare, Kivy, and Chaquopy options and limitations
Python on Android is possible, and it can be genuinely useful, but we treat it as a deliberate trade. BeeWare aims to let Python developers ship native apps with a Python-centric workflow; Kivy brings its own widget toolkit; Chaquopy embeds Python into an Android project so Kotlin/Java code can call into Python modules. Each route can accelerate prototyping, reuse data-science logic, or support a niche integration where Python libraries already solve a hard problem.
Limits show up quickly, though. Android UI conventions, performance expectations, and packaging constraints tend to reward native toolchains, especially when an app needs polished interactions, deep OS integration, or strict app-store compliance. For Chaquopy specifically, planning has to account for platform baselines; the plugin documentation notes that minSdk must be at least 24, and we treat that as a product constraint as much as a technical one. On real teams, the winning pattern is often hybrid: Kotlin owns the UI and lifecycle, while Python is a contained “compute module” behind a stable interface.
Recommended reading: Android vs iPhone Users: Demographics, Behavior Differences, and What They Mean for Apps
Learning plan and prerequisites: courses, codelabs, and practice habits
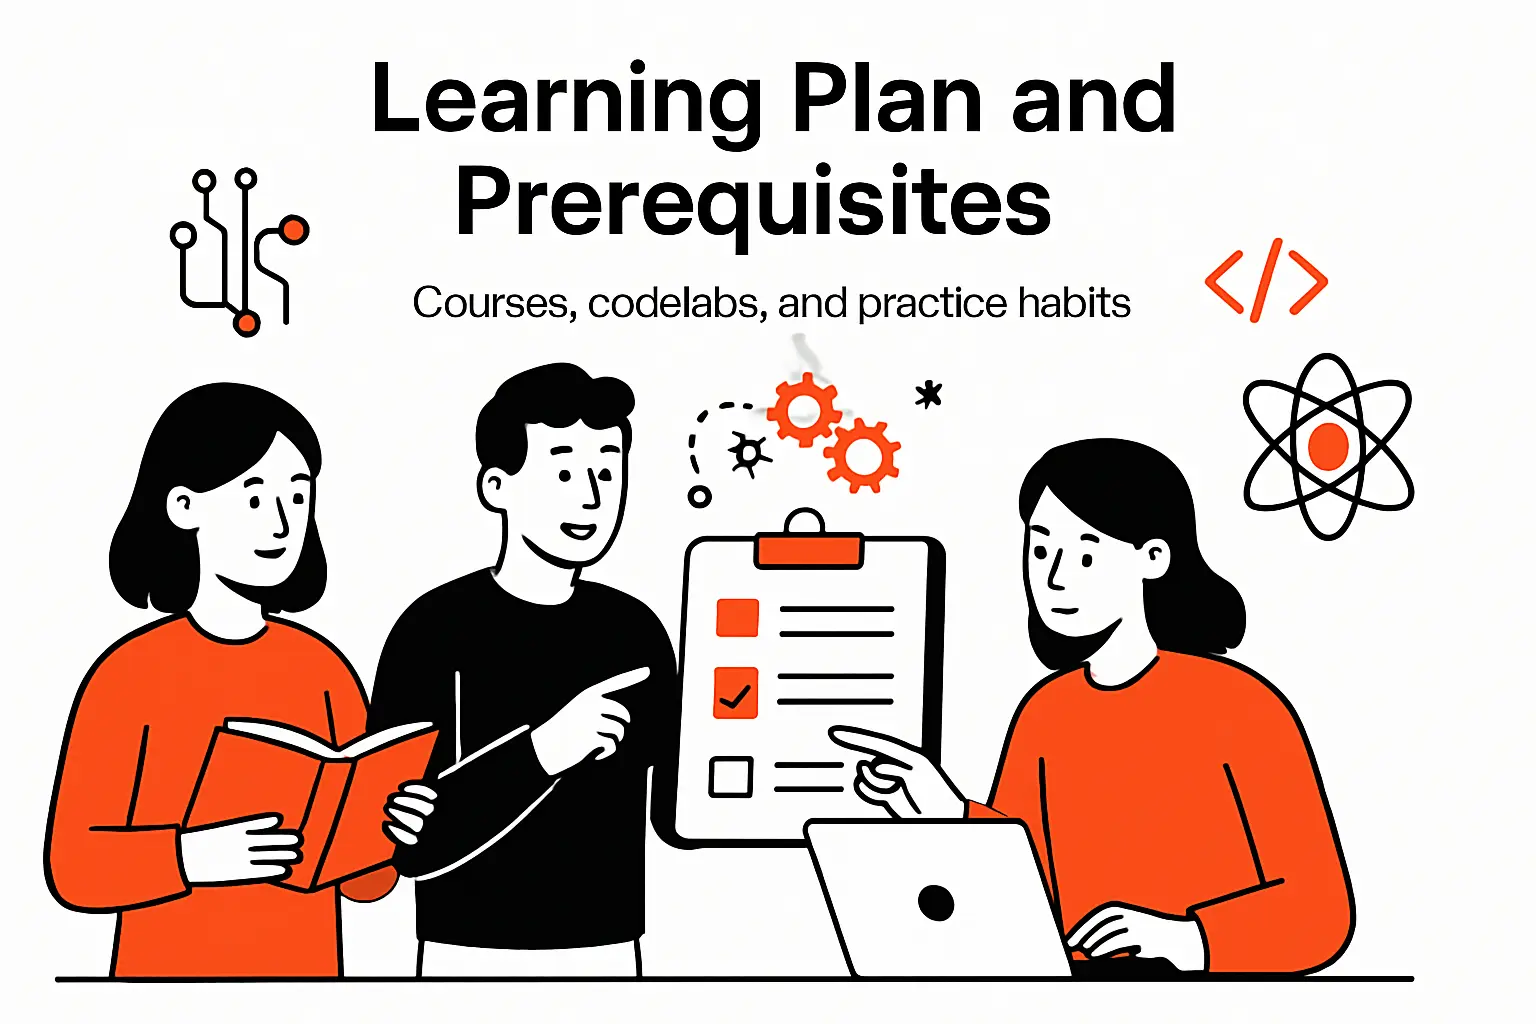
1. Prerequisites to start building: basic Kotlin knowledge and foundational programming concepts
Beginners often ask us what they “must know” before Android, and we answer with concepts rather than checklists. You need to be comfortable reading code you didn’t write, because Android projects are ecosystems of frameworks and libraries. You also need foundational skills in functions, data modeling, error handling, and debugging, because Android failures are rarely polite—they present as crashes, misrendered screens, or “nothing happens” moments that require calm investigation.
Beyond Kotlin syntax, the real prerequisite is being able to reason about state and time. Mobile apps are reactive: network responses arrive later, users rotate screens mid-flow, and the OS can pause or kill your app when resources get tight. Once we see someone internalize that their code runs inside a lifecycle, not inside a linear script, their learning curve steepens in the best way.
2. Pick a structured path: Android Basics course, codelabs, and beginner-friendly course platforms
Structure is the antidote to tutorial chaos. A strong beginner path should teach UI, state management, navigation, data persistence, and background work as connected ideas. These parts make more sense together than as isolated tricks. Official material is usually best for learning the platform’s recommended way. Community courses are often better for building something that feels real quickly.
In our internal onboarding, we like a cadence where learners alternate between guided lessons and small self-directed builds. The guided portion teaches vocabulary—activities, composables, manifests, Gradle—while the self-directed portion forces decisions, and decisions force understanding. As a practical tip, we encourage keeping a “bugs diary” so every confusing error becomes a reusable pattern rather than a forgotten frustration.
3. Where to get help: course materials, searching compile errors, Stack Overflow threads, and GitHub code
Help is abundant, but judgment is scarce, so we try to teach newcomers how to evaluate answers. Course material is usually coherent but can lag behind tooling changes. Searching compile errors is fast, yet it can lead to outdated fixes that mask the real problem. Stack Overflow threads can be lifesavers, although they often encode old constraints, and Android has a habit of evolving the “right” solution.
Our most reliable method is to triangulate: read the official docs for intent, scan trusted repositories for idiomatic patterns, and then use community answers as additional context rather than as final truth. When we review GitHub code, we look for signals of production maturity—tests, issue tracking, clear architecture boundaries—because clean code in a demo repository doesn’t always survive contact with real users.
4. Practice strategy: start simple, ship small features, and build mini-apps to reinforce each new skill
Practice works when it is intentionally scoped. A mini-app is not “a small version of a big app”; it is a single behavior you can own end-to-end, such as saving a note, scanning a barcode, or showing a paged list from a mock API. Each build should teach a new skill while reusing the previous ones, which is how muscle memory forms in software.
In our teams, we also practice shipping posture early. Even a toy app benefits from version control, a clean README, and a basic test or two, because those habits reduce risk when the project becomes business-critical. Momentum matters, so we prefer tiny milestones that reach “works on device” quickly, followed by deliberate refactoring that turns messy progress into durable patterns.
Recommended reading: Android Software Development: Tools, Languages, Workflows, and Cloud Features
Set up your development environment with Android Studio, SDK, and JDK
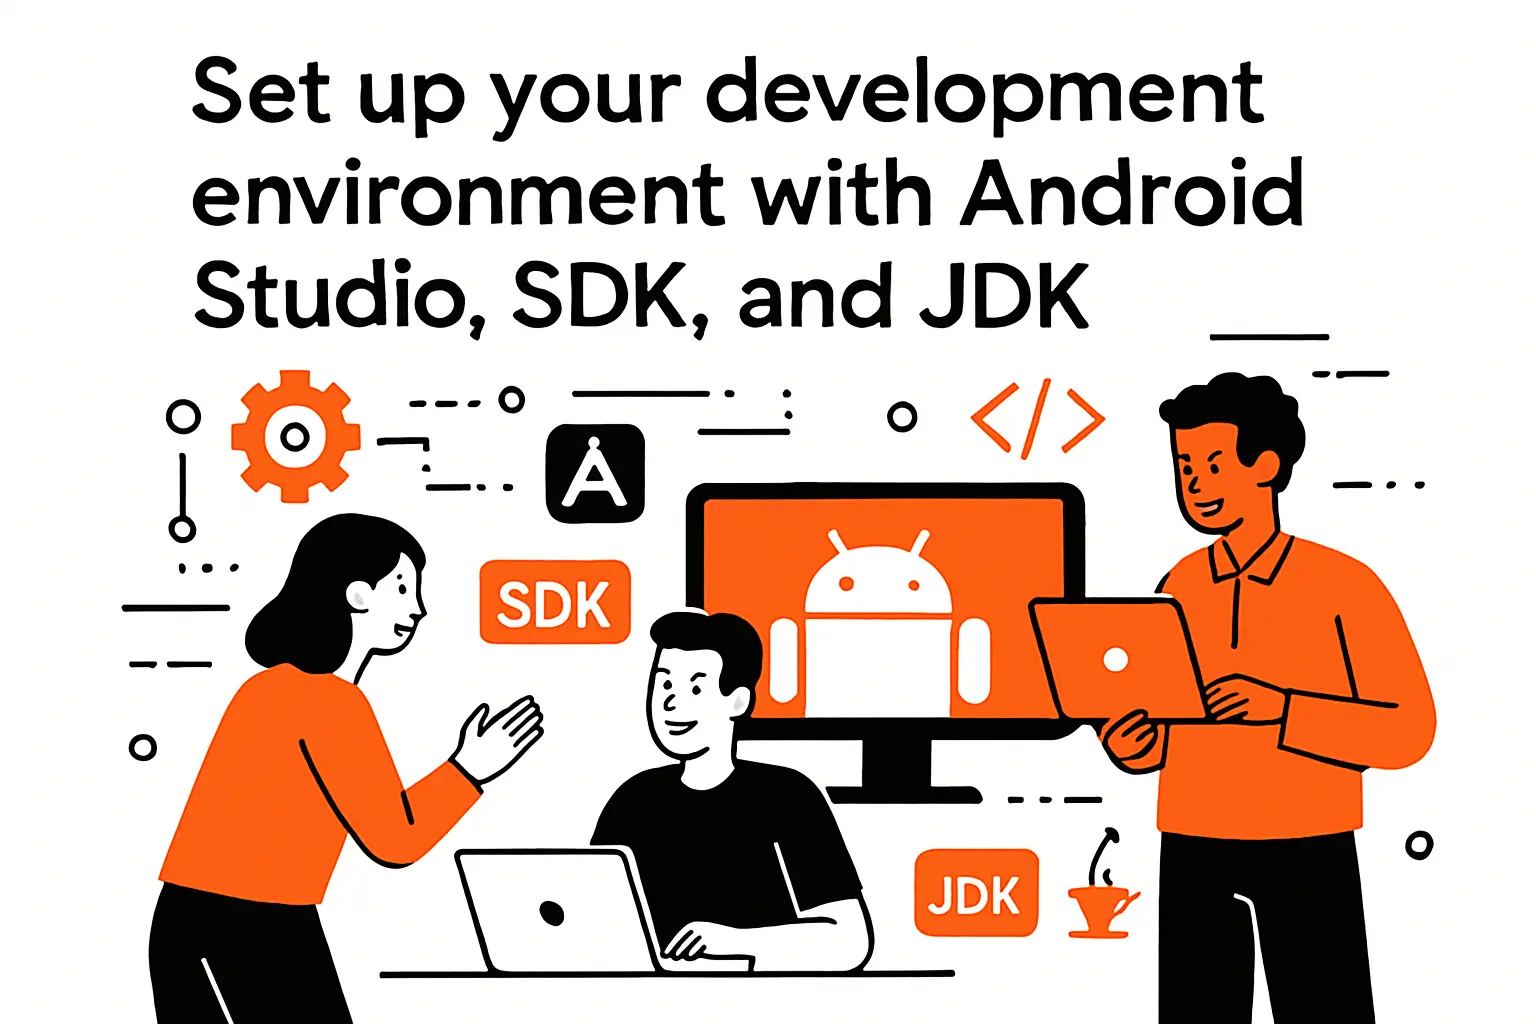
1. Install Android Studio and confirm system requirements before you begin
Environment setup is rarely glamorous, but it is where many beginners lose a day. We start by confirming that the machine can comfortably run the IDE and the emulator, that virtualization is enabled, and that corporate security tooling will not quietly block Gradle downloads. Nothing is more demoralizing than thinking you “can’t code” when the real problem is a proxy configuration.
From an operations perspective, we also recommend thinking ahead about repeatability. If a team expects multiple developers to join, it helps to document setup steps in a shared guide and keep it updated whenever something changes. Android development is healthier when a new engineer can go from laptop to running app with minimal friction, which is one reason we lean on the official distribution path described in Android Studio is the official IDE for Android app development documentation.
2. Android Studio essentials: official IDE, Android Emulator, flexible build system, and Compose tools
Android Studio is more than an editor; it is an ecosystem hub. Refactoring tools let us change architecture without fear, inspections catch common issues before they ship, and the debugger makes asynchronous code less mysterious. The emulator and device manager provide a repeatable way to run across different device profiles, and Logcat gives us the narrative of what the app is doing when the UI goes silent.
Compose-specific tooling is a practical advantage for UI iteration. Preview support encourages small composable functions with clear inputs, which indirectly improves testability and reuse. When we pair that with a disciplined approach to state hoisting and unidirectional data flow, the code becomes easier to maintain under product pressure, especially when stakeholders request UI changes late in a sprint.
3. JDK and Android SDK setup: install order, what gets installed with Android Studio, and common friction points
Most beginners can rely on Android Studio’s bundled components, but it still helps to understand what is happening. The JDK supports compilation and tooling, while the Android SDK provides platform APIs, build tools, and system images for emulation. Gradle sits between them, orchestrating builds, dependency resolution, and packaging.
Common friction points have predictable shapes. Sometimes Gradle sync fails because of network restrictions or certificate interception. Occasionally an SDK component is missing because the project expects a platform package you haven’t installed. In our troubleshooting playbook, we first read the error carefully, then confirm SDK manager state, and only then do we adjust versions or clear caches; blind “invalidate everything” approaches waste time and hide root causes.
Recommended reading: How to Create a Weather App: A Step-by-Step Guide for Web and Python
Create your first project with Android Studio templates
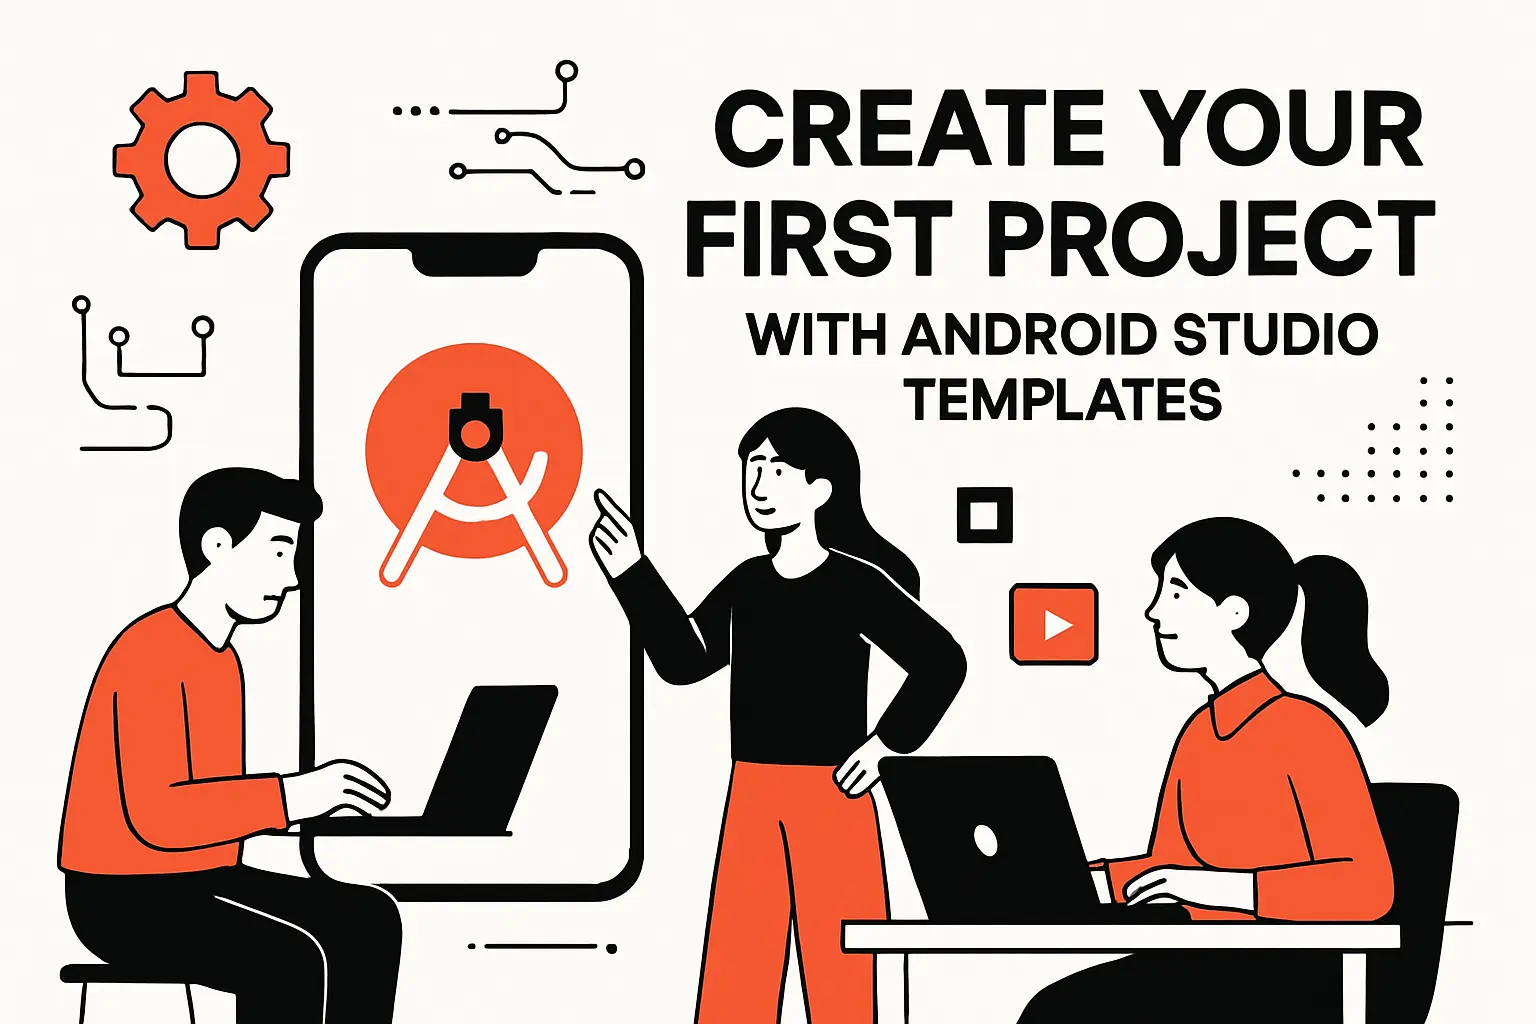
1. New Project workflow: navigating templates and choosing the right starting point
Templates are opinionated scaffolding, and they are valuable because Android has a lot of wiring. A good starter template sets up the manifest, entry activity, basic theme configuration, and build scripts so you can focus on learning UI and behavior. For beginners, we prefer starting from a simple single-screen template because it keeps the mental model small while still being “a real app.”
In client work, templates also act as a baseline for consistency. Even when we build complex multi-module systems, we still want predictable project structure, standard Gradle conventions, and a familiar entry point so new contributors can orient quickly. That predictability becomes a quiet productivity multiplier once an app needs to scale beyond a prototype.
2. Empty Activity template: a simple single-screen starter that displays “Hello Android!”
The Empty Activity template is deceptively powerful because it teaches the central rhythm of Android: an entry activity creates a UI, that UI reacts to state, and the system manages lifecycle transitions. Seeing “Hello Android!” render successfully proves that your toolchain, build configuration, and device target all agree. From there, every feature is an incremental change, not a leap into the unknown.
We also like this template because it encourages good habits. It nudges you toward a clear separation between UI code and business logic, and it tends to avoid the temptation to pack everything into a single god-class. In production projects, that early discipline is often the difference between “we can iterate safely” and “we are afraid to touch anything.”
3. Project configuration essentials: name, package name, save location, and minimum SDK choice
Project configuration feels administrative, yet it becomes part of your app’s identity. The package name influences how the OS and app stores treat your app, and changing it later is possible but annoying. Save location matters for backups and team collaboration. Minimum SDK choice controls which devices can install your app, which is both a reach decision and a maintenance decision.
In our planning sessions, we encourage teams to treat minimum SDK as “who are we serving” rather than “how old can we go.” Supporting very old devices can force older libraries, complicate security posture, and expand test coverage. On the other hand, raising the baseline can lock out users in regions where device replacement cycles are slower. The best choice is grounded in customer analytics, business goals, and operational capacity to test and support the resulting matrix.
Write your first screen with Kotlin and Jetpack Compose

1. MainActivity and onCreate: the Android entry point for your app’s UI
MainActivity is usually where beginners first meet Android’s lifecycle in code. The onCreate method is called when the activity is being created, and it’s where we set up the initial UI and any lightweight initialization that must happen before the screen renders. From a design standpoint, we aim to keep onCreate thin, delegating real work to composables, view models, or other layers so lifecycle noise doesn’t leak into business logic.
In real products, this discipline prevents subtle bugs. An onboarding app that initializes analytics too early might log duplicate events when the activity is recreated. A retail app that kicks off network calls in the wrong lifecycle phase can waste bandwidth and harm perceived performance. Keeping the entry point clean also makes it easier to reason about crash reports, because the stack traces stay focused on meaningful code rather than scattered initialization chains.
2. setContent and composable functions: how Jetpack Compose generates the UI
Compose centers on setContent, which hands UI rendering over to composable functions. A composable is essentially a description: given inputs and state, produce UI. When the state changes, Compose can re-run those descriptions and update only what needs updating. That model fits how modern apps behave, where screens are constantly reacting to data streams, user actions, and background events.
Here is the kind of minimal Compose screen we like to start with, because it stays readable and gives you a place to grow:
class MainActivity : ComponentActivity() { override fun onCreate(savedInstanceState: Bundle?) { super.onCreate(savedInstanceState) setContent { AppRoot() } }}@Composablefun AppRoot() { MaterialTheme { Surface { Text("Hello Android!") } }}Notice how the UI reads like a hierarchy of intent rather than a sequence of imperative mutations. Once we introduce state, the same structure scales naturally into forms, lists, and navigation flows without requiring fragile “find view by id and update” logic.
3. Preview-driven development: using @Preview and Android Studio preview tools to iterate faster
Preview-driven development is one of Compose’s most beginner-friendly accelerators. Instead of running the whole app to validate a padding change or typography tweak, you can preview a composable directly in the IDE. That tight loop makes UI learning less punishing, because experimentation becomes cheap and reversible.
In our workflow, previews also become living documentation. A preview with meaningful sample state shows how a component should look in edge cases. That includes long names, empty lists, error states, and loading states. When product teams want quick visual confirmation, previews show direction early. No navigation wiring or backend calls are needed. As a result, developers spend more time building correct UI logic. They spend less time waiting for the app to boot again and again.
Run, test, and improve app quality across devices
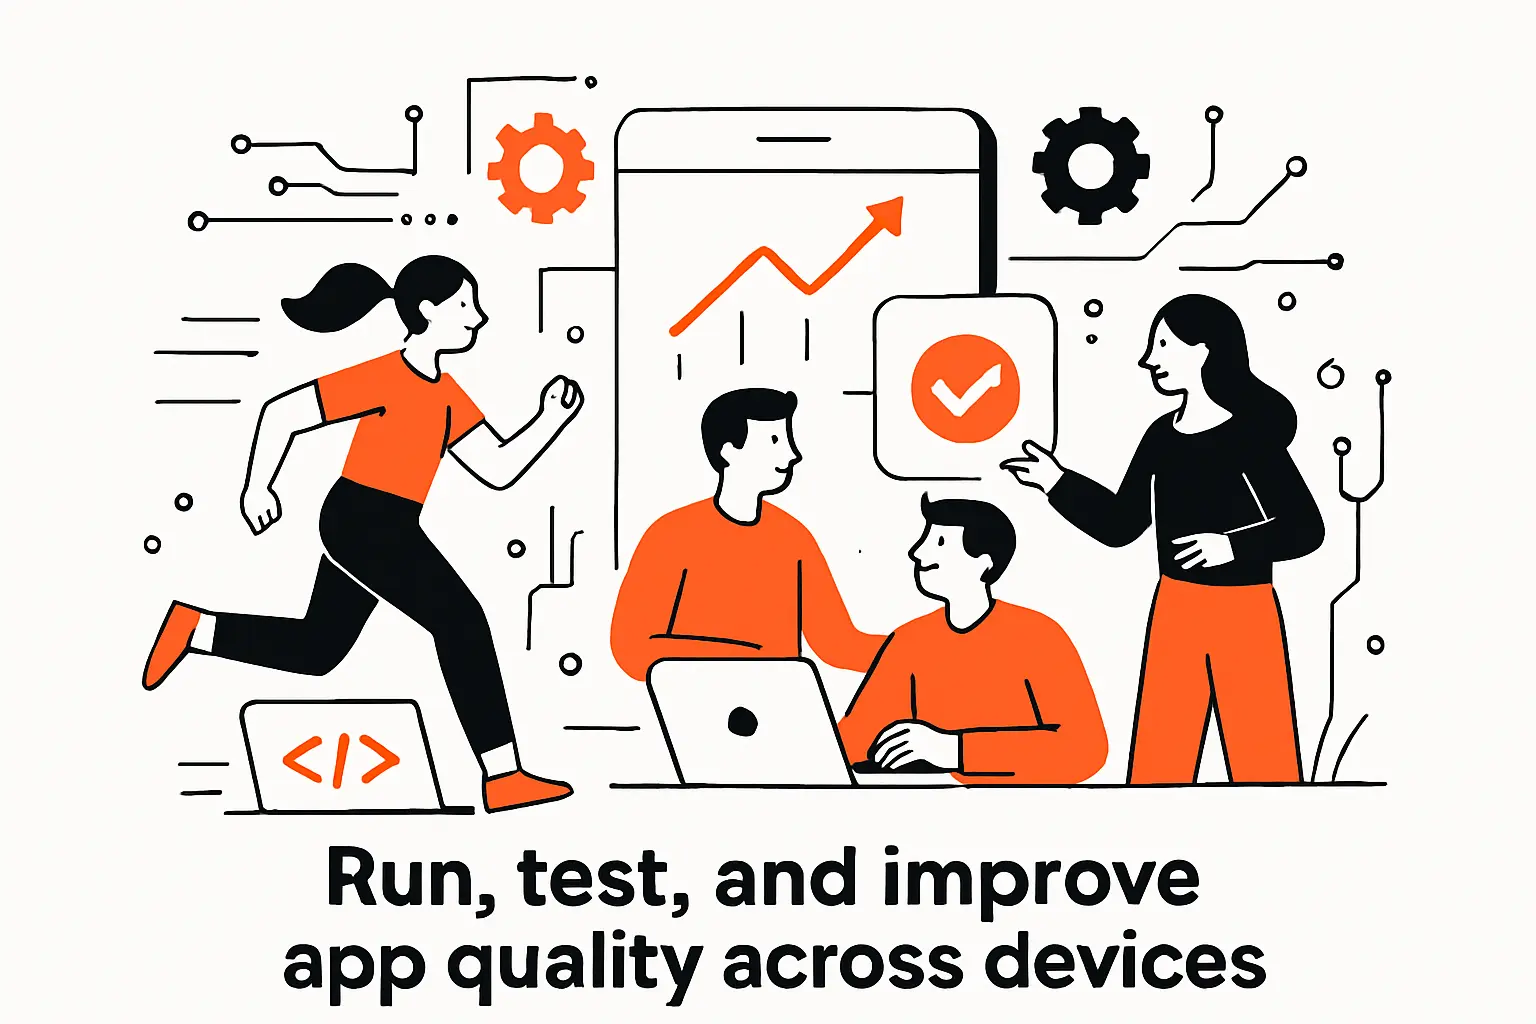
1. Emulator vs real device: when to use each for speed, feature coverage, and realism
We use emulators for speed and determinism. An emulator is excellent for stepping through code, capturing logs, simulating screen sizes, and reproducing crashes consistently. Real devices are essential for realism. Camera behavior, biometric prompts, and notifications can differ in ways that matter. Vendor-specific quirks also appear on hardware, not just in emulators.
For business apps, the choice is rarely either-or. A delivery-driver app might be built mostly on an emulator. Still, it must be tested on real hardware. GPS stability matters. Battery impact matters too. Performance under poor network conditions also needs validation. Our habit is simple. Use emulators during feature development. Then validate on a small set of real devices before calling the feature done.
2. Connect and run on a phone: USB debugging, selecting a running device, and practical ADB setup steps
Running on a phone tends to be the moment Android feels real. Developer options must be enabled, USB debugging must be allowed, and the machine must trust the device. Once the device appears in Android Studio, you can deploy builds, inspect logs, and attach a debugger just as you would for an emulator.
ADB is the quiet workhorse behind this workflow, and we treat it as a diagnostic tool rather than a scary command-line artifact. When a build installs but won’t launch, ADB logs often reveal permission denials or missing components. If networking behaves strangely, log output can expose certificate issues or cleartext restrictions. Over time, “learning ADB” becomes less about memorizing commands and more about developing the reflex to inspect what the device is telling you.
3. Plan for the Android ecosystem: form factors and configurations across phones, tablets, foldables, ChromeOS, car displays, and XR
The Android ecosystem is diverse, and that diversity is both opportunity and complexity. Phones remain the default, but tablets and foldables demand adaptive layouts that make good use of extra space. ChromeOS adds keyboard and trackpad expectations. Car displays introduce attention constraints and unique interaction patterns. XR pushes UI and input assumptions even further, because spatial computing changes what “screen” means.
From a technical standpoint, the key is to build UI that adapts rather than breaks. Compose encourages responsive layouts through flexible containers, and the resource system supports configuration-based variants when you truly need them. In our projects, we aim for a single UI logic path that adapts to window constraints, because maintaining separate UI codepaths for each form factor quickly becomes a tax that slows feature delivery.
4. Build with quality in mind: user experience, technical performance, and privacy and security expectations
Quality is not a polishing phase; it’s an architectural decision. User experience includes readability, accessibility, and predictability, but it also includes speed: users interpret jank as distrust. Technical performance spans startup behavior, smooth rendering, sensible background work, and efficient networking. Privacy and security expectations add another layer: permission prompts must be justified, data collection must be minimal, and sensitive information must be protected at rest and in transit.
In our engineering practice, quality becomes concrete through guardrails:
- Design for failure by treating offline and error states as first-class UI, not as exceptions you hope never happen.
- Measure performance with profilers and trace tools so “it feels slow” becomes an actionable bottleneck.
- Harden privacy posture by collecting only what the feature needs and documenting why each permission exists.
- Test key flows with automated checks so regressions are caught early, not after a customer complaint.
Under business pressure, these habits protect timelines because they reduce emergency fixes and reputational damage after release.
TechTide Solutions: building custom Android solutions tailored to your customers

1. Turning requirements into an Android product plan: from MVP definition to feature prioritization
When clients ask us to “build an Android app,” the first work is translation. Requirements usually arrive as aspirations: grow retention, reduce call volume, or modernize field operations. Our job is to turn them into user journeys, acceptance criteria, and a shippable backlog. An MVP is not a watered-down product. It is the smallest coherent solution that proves value and creates a feedback loop.
In our planning workshops, we probe for operational truth. Which workflows cost time today? Where do users abandon the process? Which integrations are essential, and which are nice-to-have? Once those answers exist, prioritization becomes less political. Teams can sequence features by risk, dependency, and measurable impact, so engineering effort maps to business outcomes instead of drifting into “build everything because we can.”
2. Custom development and integrations: designing, building, and scaling solutions to match customer workflows
Custom Android apps rarely live alone. They authenticate against identity providers, sync with CRMs, fetch catalog data from commerce systems, or upload media to backend services. Integration work is where architecture choices matter most, because the app has to behave predictably across slow networks, partial failures, and evolving APIs.
Our approach is to build around boundaries. A clean domain layer keeps business rules independent from UI and transport details. Data sources are abstracted so offline caching and server APIs can evolve without rewriting screens. Observability is baked in through structured logs and crash reporting so production issues are diagnosable. When an app supports frontline teams—warehouse pickers, technicians, nurses—this rigor turns into uptime, and uptime turns into trust.
3. How to make an Android app faster with TechTide Solutions: expert engineering, architecture guidance, and delivery support
Speed in Android development does not come from typing faster. It comes from avoiding rework. Early choices create leverage. Choose scalable architecture, consistent state management, a CI pipeline that catches breakage, and UX that adapts across devices. With those foundations in place, feature work becomes additive rather than disruptive.
On client engagements, technical discovery comes first. We review requirements, identify integration risks, and propose a build plan tied to business validation points. During implementation, support can include code reviews, architecture guidance, and hands-on feature delivery. When the goal is a stable, store-ready build, this blend of strategy and execution creates reliable leverage.
Conclusion: ship, distribute, and keep improving after your first build

1. Extend your app with cloud services to enhance user experience and reduce server overhead
Once a basic app runs locally, the next meaningful leap is usually cloud integration. Authentication enables personalization and secure access. Databases enable syncing and multi-device continuity. Serverless functions can handle event-driven logic without requiring a dedicated backend team to manage infrastructure. For many beginner apps, managed services are the fastest way to deliver real value while staying focused on product behavior rather than server maintenance.
From our experience, the best cloud strategy starts with ruthless clarity about data. What must be stored? What can be computed on-device? And what must be available offline? Answering those questions early prevents the common trap of building a backend that is either overcomplicated or insufficiently secure. Once the data model is disciplined, cloud services become a multiplier rather than a dependency you fear.
2. Distribute your app: internal distribution options and publishing through the Google Play Store
Distribution is where engineering meets operational reality. Internal distribution options let teams test builds with stakeholders and QA before a public release. This lower friction path helps teams catch workflow issues early. Publishing through the Play Store adds another layer of work. Teams must handle signing, listing assets, policy compliance, privacy disclosures, and staged release controls.
We advise treating distribution as a pipeline, not as an event. Even a beginner app benefits from a repeatable release process, because repeatability is what makes iteration safe. When the release path is predictable, product teams can plan experiments, marketing can plan announcements, and engineering can ship improvements without dread. That is the moment an app stops being a project and starts being a product.
3. Keep leveling up: learning resources, sample apps, and continued practice to evolve beyond “Hello World”
Android mastery comes from building, reflecting, and rebuilding with better decisions. Sample apps are useful when you read them like a detective. Ask why each layer exists, where state lives, how side effects are controlled, and which tradeoffs the authors accepted. Practice should also include maintenance work such as dependency upgrades, test coverage, and UI refactoring. Those tasks separate hobby apps from real business software.
So what should you do next? Pick a tiny app idea that solves a real annoyance, ship it to a small group, and then iteratively harden it with better architecture, better UX, and better observability—then ask yourself, when you look at the code a month later, does it still feel like something you’d trust in production?